
Remember these little hexies I made a while back from that free Creativebug class?
Well I'm finally here to show you the little wallet I made with them,
complete with a tutorial for you to make your own Quilted Zipper Pouch!
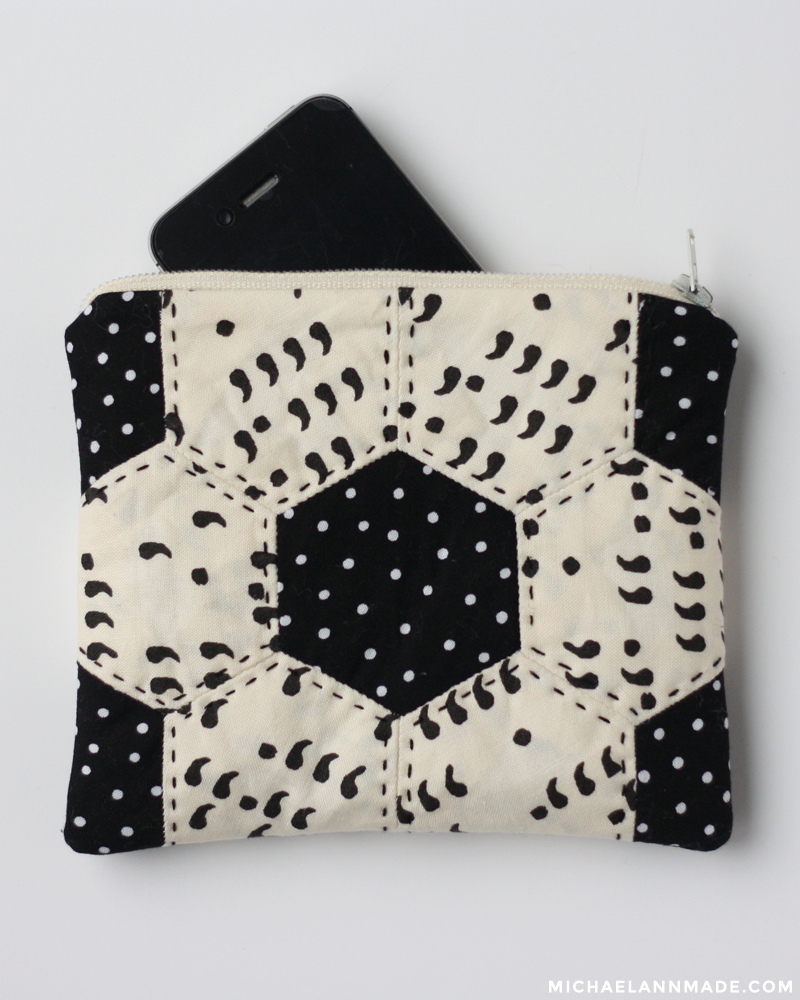
I used my Free Big Bow Zipper Wallet pattern as the pattern for this wallet,
you can download it here to help you through this tutorial.
Now let's get started!
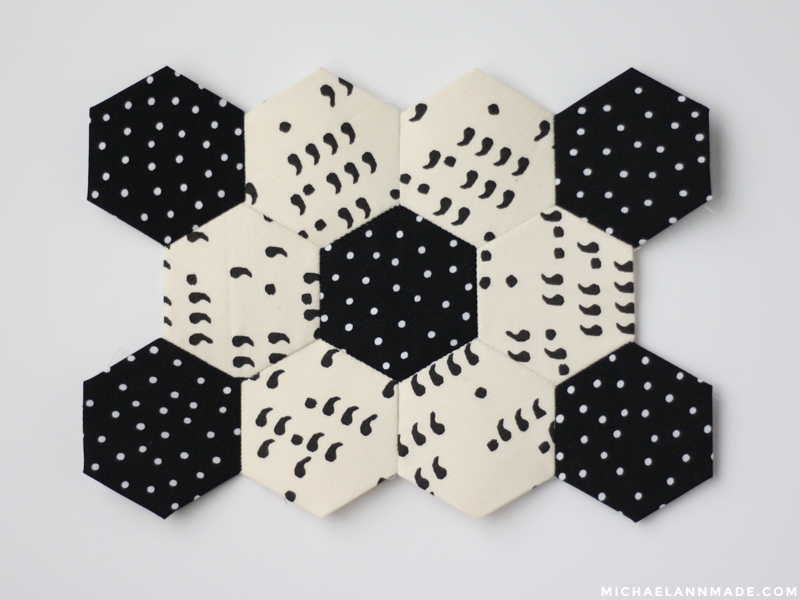
FIrst, you will need something to make your wallet out of.
I used hand pieced hexies, which was super easy because I only need a couple!
You could use any bit of patchwork, just make sure if it isn't rectangular,
that the smallest sides are still a bit bigger than your pattern piece.
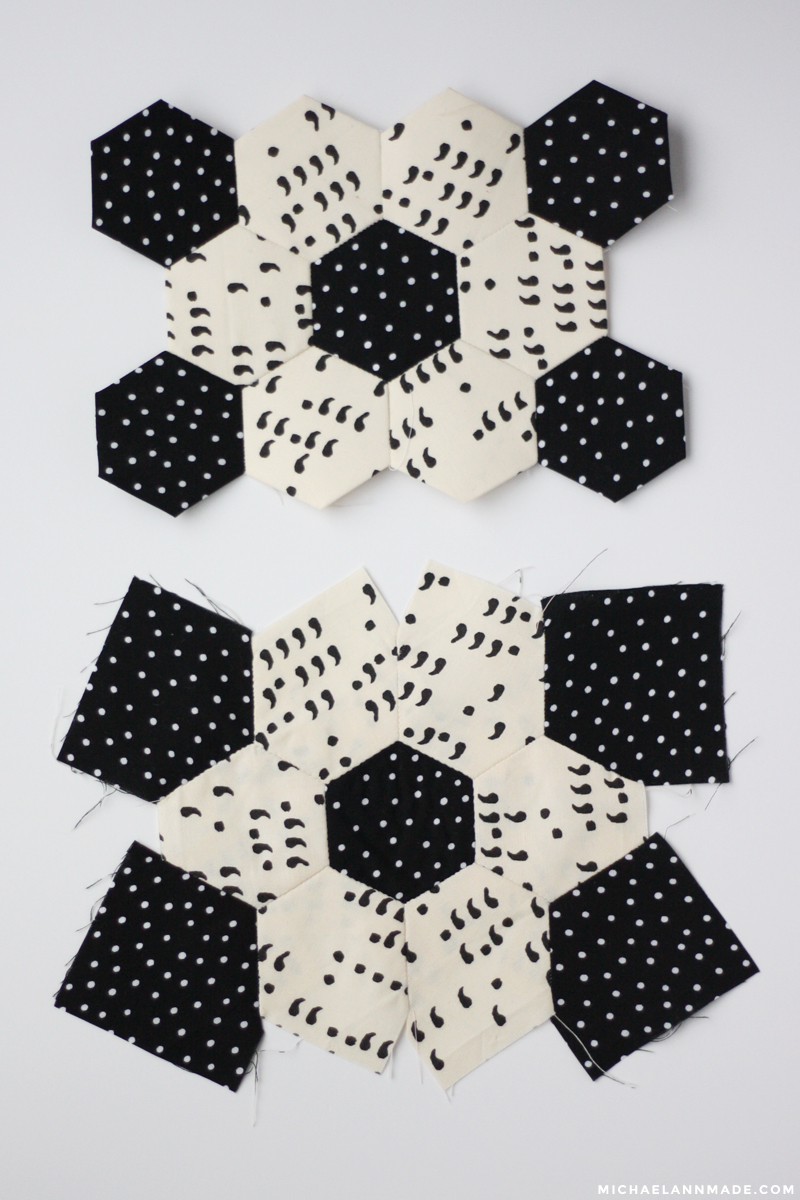
If you are using hexies like me,
I'll show you what I did to make sure the complete hexie shows on the pouch.
In the Creativebug class I took,
she shared a couple different ways to cut the fabric when piecing your hexies.
I cut out squares of fabric, instead of cutting out a hexagon shape,
so that I would have more fabric to use as seam allowance when stitching my wallet.
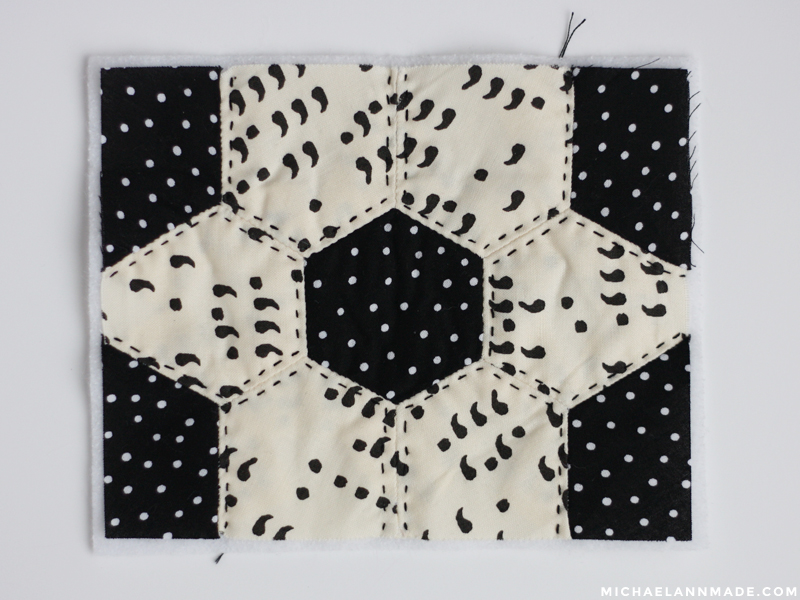
I opened the hexie seams that were on the outside of my piece,
and pressed it all flat so I had one flat panel of fabric.

Then I trimmed that panel into a rectangle,
trying my best to align the stitching line of the white side hexies with the stitching line of the wallet.
Now, you're ready to quilt it!
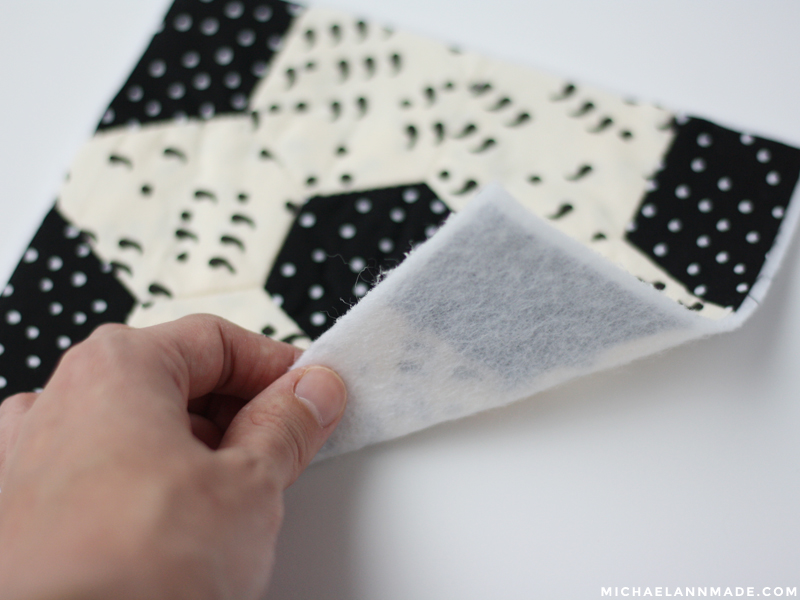
My new favorite secret trick to quilting tiny things?
Fusible fleece batting!
This is fleece interfacing that is fusible on one side,
allowing you to iron it to your project and not have to worry about basting it.
To make your quilted pouch,
just cut a bit of fusible fleece a bit larger than your patchwork panel,
and fuse it to the back.
(You could also use traditional batting and baste it to your piece.
I just found it easier to use fusible for this tiny project.)
Now that you have your batting,
quilt your piece however you want.
I did a little hand quilting with some embroidery thread,
the tiny size of this project is perfect for hand quilting.
Repeat all of the above steps for the backing of your wallet.
You can make it match, or make it different.
Your chance to be creative!

With your front and back pieces quilted, you are ready to assemble your wallet!
(In my Big Bow Zipper Wallet Pattern there are directions
with photos for every step of the zipper wallet assembly process,
so right here I will just show you the main steps.)
Cut out two lining pieces the same size as your front and back pieces,
and grab a zipper the same size.

To sew the zipper, lay out the front wallet panel, face up,
and place the zipper face down with the right edge lining up with the top of the front panel.
Then lay your lining on top of that, right side down, also lining up that edge.
Pin, and then sew with a zipper foot,
as close to the right zipper edge as your zipper foot allows.
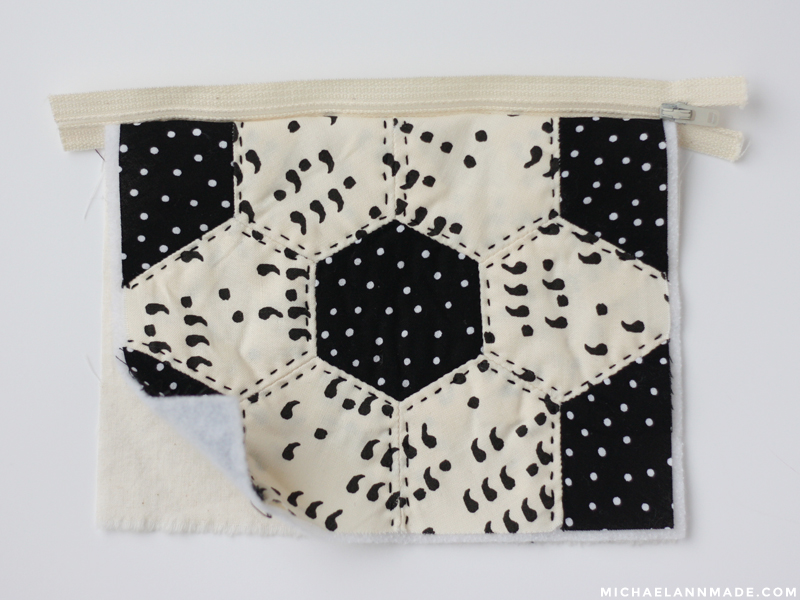
When you're done, flip both of your fabric pieces so they face the right direction
and press the seam well.
It should look like half of a wallet, like this!
Repeat the process for the other side of the wallet.
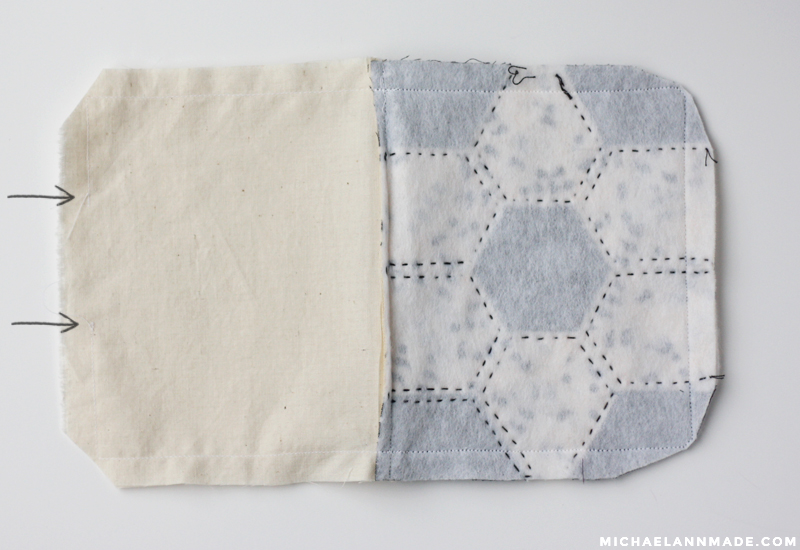
When you have both linings and both front and back panels sewn to the zipper,
open your zipper a little bit (to make sure you have an opening to turn it rightside out)
and then open your fabric pieces so you match the front and back panel, right sides together
and the two lining pieces, right sides together.
Stitch around the outer edge of your whole wallet,
leaving an opening a couple inches wide on the lining edge.
When you come to the zippers, do your best to make sure they line up,
and don't let your needle hit the zipper and break!
Clip your corners, press your seams, and flip the whole thing inside out.
Stitch up the hole in your lining, either by hand or machine,
and fold it into the bag where it belongs.
Zip up your little baby and you're all done!
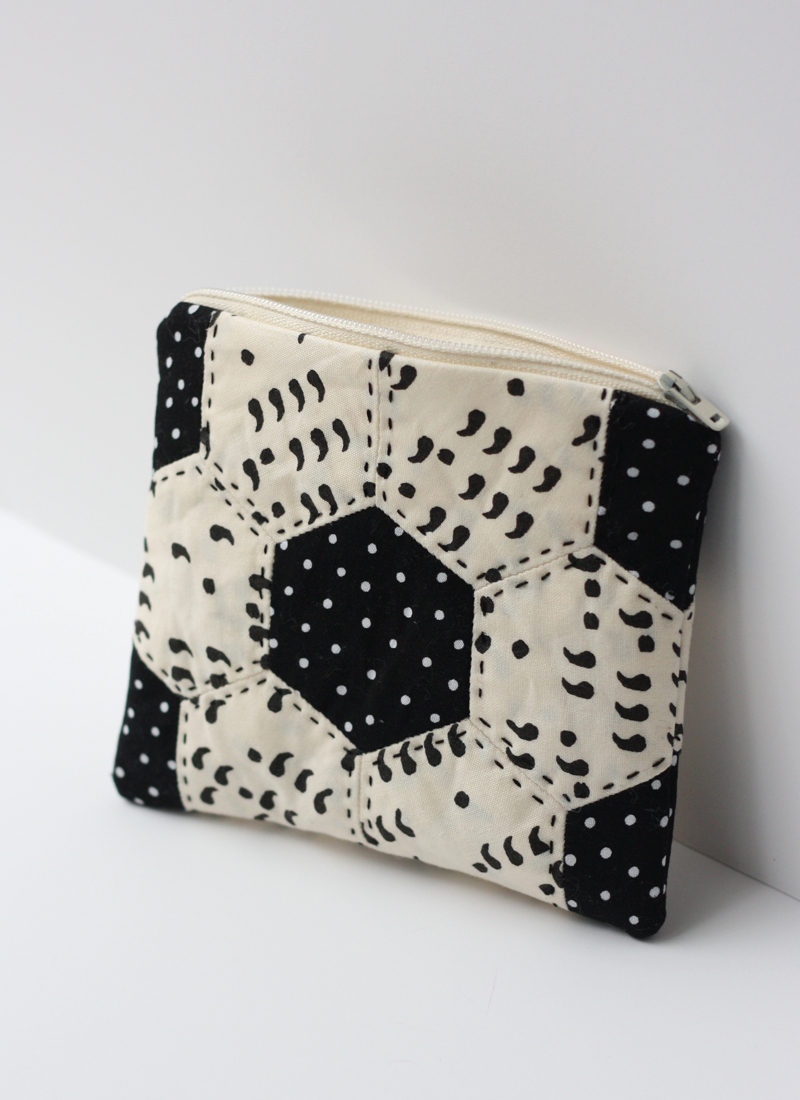
This was such a simple project,
and such a great way to use a few tiny hexies,
I see myself making many many more of these.
Maybe this weekend while we get snowed in?!
so cute! I've always said I wont get into hexies, but I think this could be just enough hexies for me.
ReplyDeleteThat's really cute! I've always wanted to try hexies.
ReplyDelete