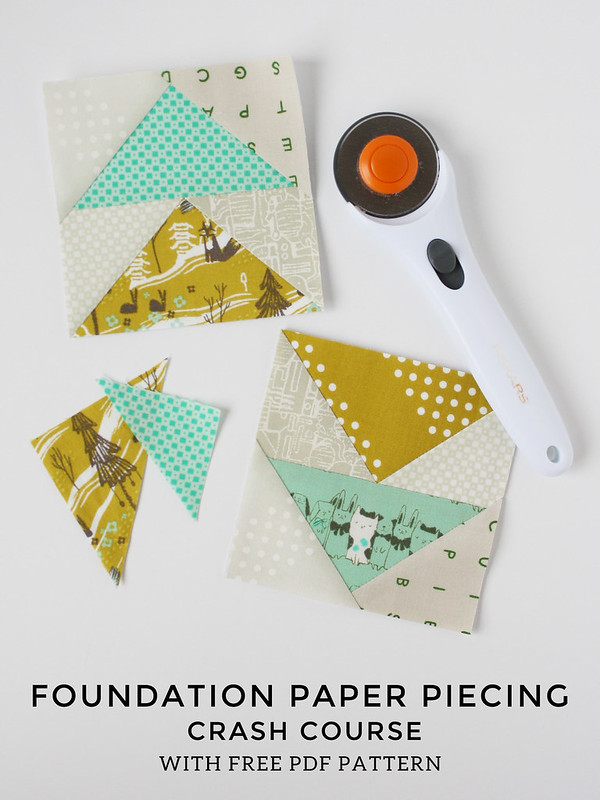
Hey My Crafty, Quilty Friends!
Since I have a new paper piecing pattern coming out later this week (the Tiny Geese Keychain)
I thought it would be fun to do a little Crash Course on Foundation Paper Piecing!
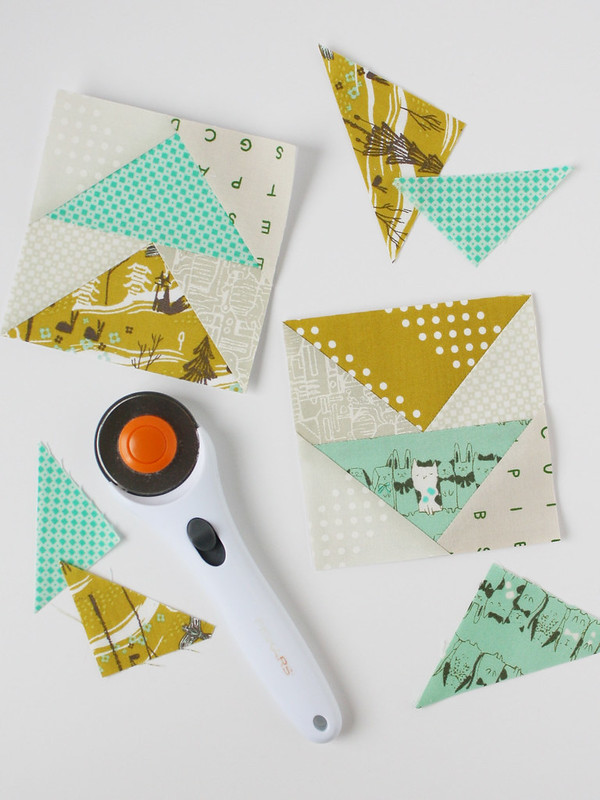
Paper Piecing can seem like an intimidating skill
because it is usually used by more advanced quilters,
but once you practice a couple times, I think you'll love it!
Paper Piecing is such a great technique to have in your quilty tool belt
because it allows you to stitch complex designs very simply.
And it's much easier to get all your points to match!
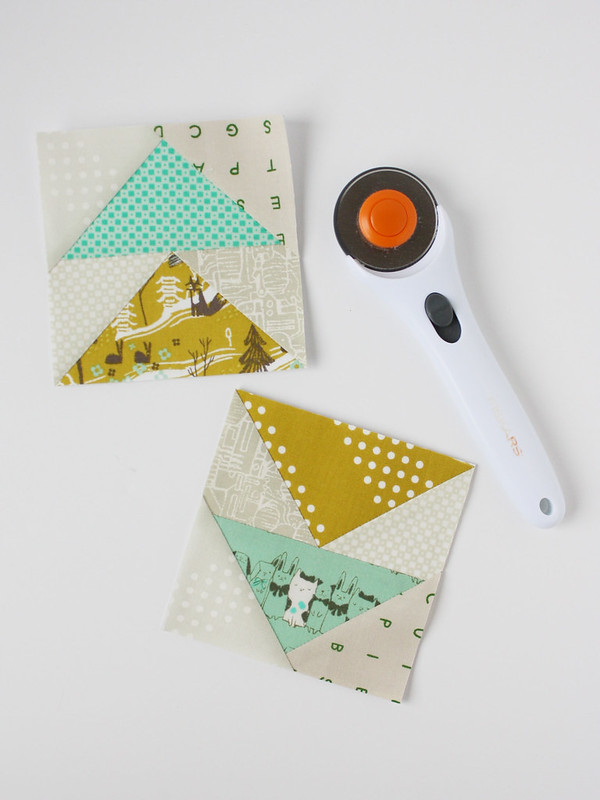
To help you on your journey today to learn how to paper piece,
I have included a Free Flying Geese PDF Pattern Download!
The geese measure 2" x 4", a great size for learning how to paper piece.
The added bonus is that this pattern could be used in a million other projects!
When you complete this tutorial,
and start working on all kinds of quilty projects with this Flying Geese Pattern,
be sure to share photos with the tag #MichaelAnnMade on Instagram and Facebook
so we can all marvel at your newly mastered skill!
So what are we waiting for, let's get started!
[[ tutorial continued after the jump ]]


You Will Need ::
- A Printed Copy of the PDF Pattern (download here)
(there are specialty paper piecing papers that are thinner weight, but regular weight printing paper is great for learning!)
- A small ruler, or add a quarter ruler
- Rotary cutter and mat
- Assorted Fabric Scraps for the Geese - At least 3" x 5" (use larger for more wiggle room)
- Assorted Fabric Scraps for the Background - At least 4" x 4", Cut Diagonally (use larger for more wiggle room)
Tips for Paper Piecing Success ::
- Shorten your stitch length to 1.55 or 12 - 18 stitches per inch
- Use a larger needle, like 90/14
- Have your iron close by, you will be pressing after each step


- Prep your pattern by cutting it out, I like to leave a bit of extra paper around the outer seam allowance line, and folding along all the dividing lines.
- Grab one of your Flying Geese fabrics and place it Right Side Out on the back (unprinted side) of your pattern. Make sure the fabric covers all of the seam allowance areas. You can lift your pattern up to a window or light source to check. Pin or hold in place.


- Now fold your pattern back along the dividing line between #1 and #2. (I drew a dotted line so you could see the full #2 area)
- Place a Background Fabric scrap Right Side Up on your table, and then place the pattern on top so that the #2 area, and seam allowances, are covered by the background fabric. Again, you can check by lifting it up to a light source. Pin or hold in place.


- Now for the actual paper piecing! Flatten the pattern, and carefully bring your pattern and paper over to your sewing machine. Printed side of the pattern up, sew directly along the #1 and #2 dividing line. I like to extend into the seam allowances on either side a bit, you could also back stitch. Be sure you are using a small stitch length.
- When you are done, flip your pattern over and admire your work! You just paper pieced!


- Fold the pattern back along the dividing/stitching line to clean up the seam allowances. Line up your ruler with 1/4" extending past the fold and trim (this is where an add a quarter ruler comes in handy!) Then unfold your pattern and press the Background Fabric flat, away from the Geese Fabric.
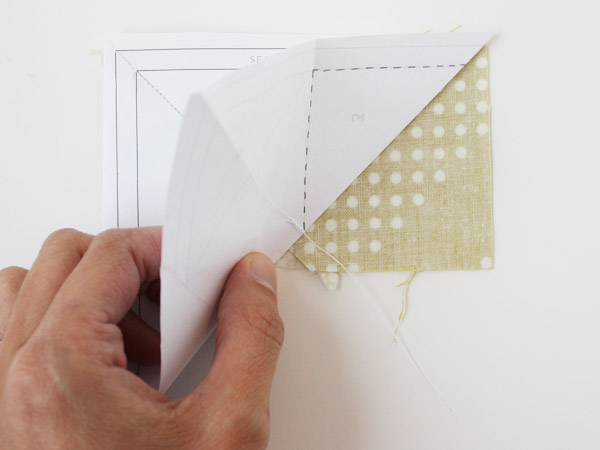

- Onto the next one! Fold the pattern back along the next dividing line, between the #1 and #3 areas. If you stitched a bit beyond the printed line in the previous step, you will need to tear the paper away from your stitching a little bit.


- Again, place a Background Fabric scrap Right Side Up on your table, and then place the pattern on top so that the #3 area, and seam allowances, are covered by the background fabric. You can check by lifting it up to a light source. Pin or hold in place. Flatten the pattern and sew along the #1/#3 dividing line.


- Fold the pattern back along the stitching/dividing line and trim the seam allowance to 1/4". Press the Background Fabric away from the Geese Fabric.


- Now onto the #4 area, the next Flying Geese.
- Paper piecing is a great way to work fussy cutting into your sewing. If you want to make sure a specific part of your fabric is in the sewn area, fold the pattern back and center that motif (in this case the little white cat) in the numbered area. Remember that the fabric will be folded down after it is sewn, so in this instance the cat is upside down.
- Like before, make sure the fabric covers all the numbered area, including the seam allowance, pin or hold in place, and sew along the dividing line.


- Trim your seam allowance to 1/4" and press the fabric away from the pattern.


- Now continue working in number order until all of the pieces are sewn.
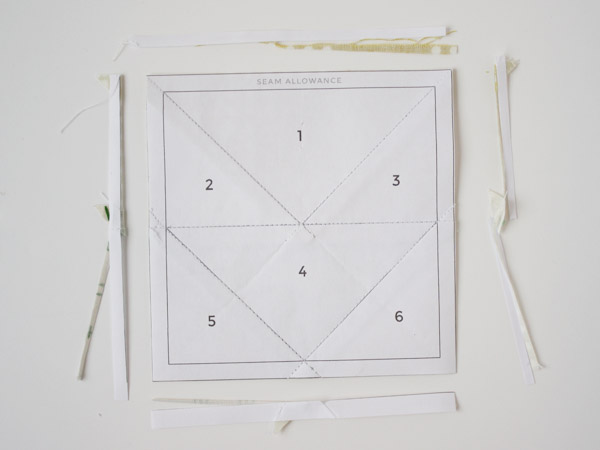

- When your pattern is all pieced, flip it over and trim the seam allowances. Line your ruler up with the outer most, seam allowance, line (which should be 1/4" away from the design line). Trim along that outer line. Now you have a neat, tidy bit of paper piecing ready to quilt with!


- If you want to sew two pieces of paper piecing together, wait to take your papers out until you have sewn them together. Line the two pieces along the edges, and use the marked seam allowance lines on the papers to help match them up. I like to use Clover clips for this part, both because of the bulk, and because the edge of the clip can show me if the line matches on both sides. Then just sew the two pieces together along the seam allowance line.


- When you're done sewing the pieces together, it can help to take out the papers before you press the seam.
- To take out the papers, start carefully tearing along the stitching lines. The shorter stitch length and larger needle should have perforated the paper enough to make the papers easy to remove. A pair of tweezers can be super handy for getting the paper out of small corners and details.


- When all of the papers are removed, give your piece a good press. And voila! You just did paper piecing!

I hope that you had a lot of fun with this tutorial,
and that you are able to make all kinds of fun things
with your new found skill and free pattern!
Remember to tag your pictures with #MichaelAnnMade
and tag me @michaelannn so I can see all your amazing work!
Good luck, and have fun!
Thank you for the great tutorial. Love it!
ReplyDelete