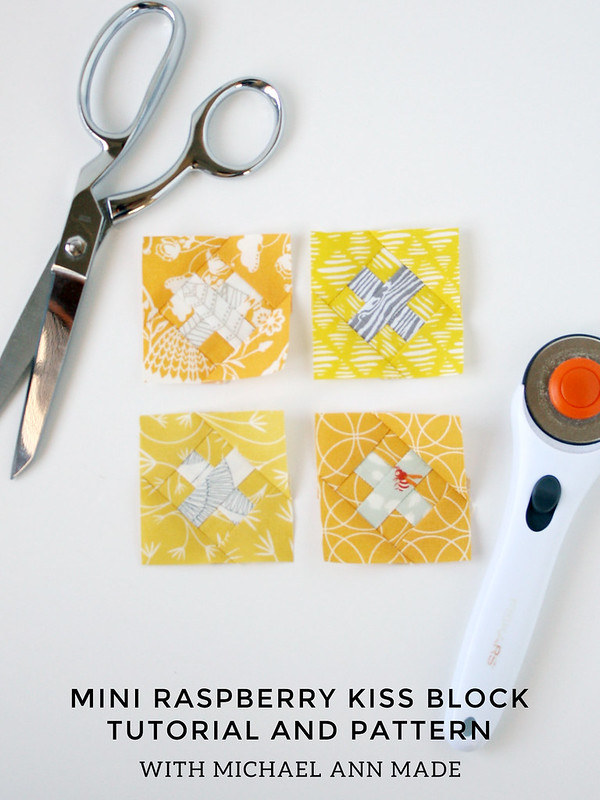
Who has been bit by the micro paper piecing bug!?
Ever since I made my Tiny Geese Keychain,
I have been hooked on sewing teenie, tiny, paper pieced patterns.
The Raspberry Kiss Block, designed by Rachel of Wooden Spoon Quilts,
has become such a favorite block of mine,
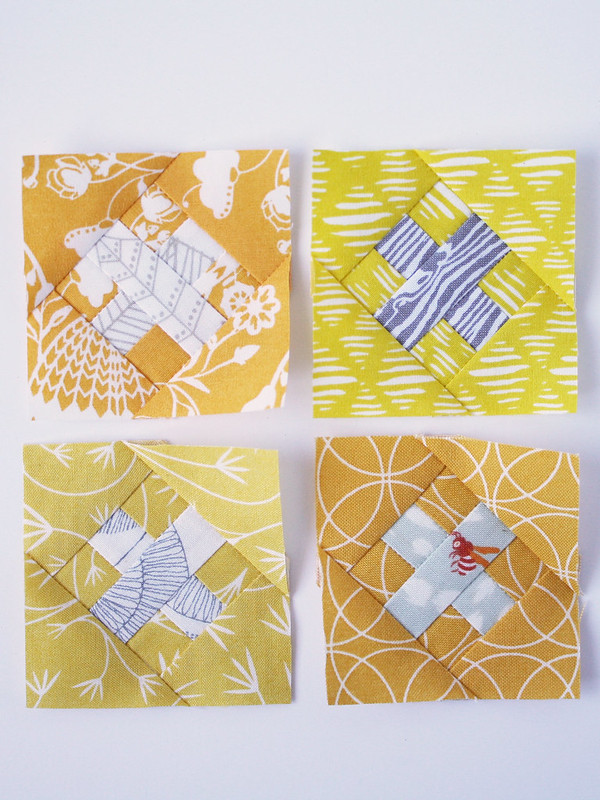
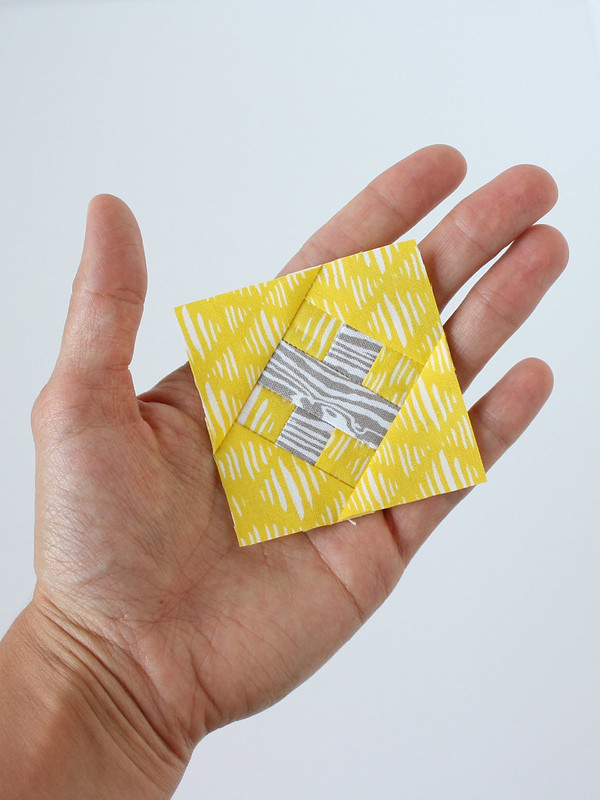
I wanted to see what it would look like shrunken to minuscule proportions.
And it looks adorable!
Not one to keep a good thing to myself,
today I'd like to share with you the tutorial,
and free paper piecing pattern,
so you can make your very own tiny kisses!

This paper pieced block is perfect for your most tiny sewing projects and finishes at 2” square.
Using paper piecing allows you to use your most precious tiny scraps,
and ensures that your tiny kiss block will be accurate every time.
So let’s make some mini kisses!

Materials You Will Need -
- Download the Free Mini Raspberry Kiss Block Pattern
- Print off the Paper Piecing Patterns (make sure printer is set to "actual size"
- Assorted Fabric Scraps for Paper Piecing Inner Nine Patch
- 2 - 2” x 2” squares (cut diagonally) Background Fabric for Corners


Step One - Piece the Inner Nine Patch
- Piece the Inner Nine Patch using the printed out template and standard paper piecing techniques.
Leave the papers in to help your accuracy in the next step.
For more in depth instruction of paper piecing,
try reading through my crash course on paper piecing tutorial!


Step Two - Add the Background Corners
- Place one side of the Inner Nine Patch and one diagonal cut side of the Background Corner piece,
Right Sides Together.
- Sew together along the inner, ¼” stitching line marked on the paper piecing pattern.
- Flip over, and press the Background Corner up.


- Repeat to sew on the opposite Background Corner Piece.
Trim off the dog ears of the Background Corner Pieces to align with the Inner Nine Patch.
- Sew on the remaining two Background Corner Pieces using the same technique.

Step Three - Finish The Block
- Remove the papers from the Inner Nine Patch. Using tweezers can help with the tiny pieces!
- Trim the block down to 2 ½” x 2 ½”.
- Line up the ¼” mark of your ruler with the corner of the Inner Nine Patch.
Make sure that your ruler is aligned with the rest of the block.
Trim off any overhang. Repeat for all four sides.
(A small 2 ½” square ruler is perfect for this!)
- Admire your work and make a million more Mini Raspberry Kiss Blocks!

And there you have it! Isn't teenie tiny piecing so satisfying?!
If you haven't yet,
pop over to my Craftsy shop and download your copy of the Mini Raspberry Kiss Block Pattern so you can get started!
And be sure to tag all of your photos on Instagram with #MiniRaspberryKissBlock and @michaelannn
so I can admire all of your hard work.
Have fun!

This is going to be perfect for a project I'm working on, thank you!
ReplyDeleteHoly cow, these look addictively fun! Very cute!
ReplyDeleteSo cute! I love all the projects people are making with this and posting to IG!
ReplyDeleteI'm one of the possible 3 people not on IG- but these are great! I just did a 3 x 3 mini for a swap- it is so cute!!
ReplyDeleteWhere do you find the time? You never fail to amaze your dear 'ol mother!
ReplyDelete